Slot Canyon Photography Tips
/Slot Canyon Photography Tips -
We are headed into one of the most magical geological features in North America! Below you will find some basic settings and some additional information for those interested. Don’t worry if this feels overwhelming - we will be there coaching you through these settings and have time to practice.
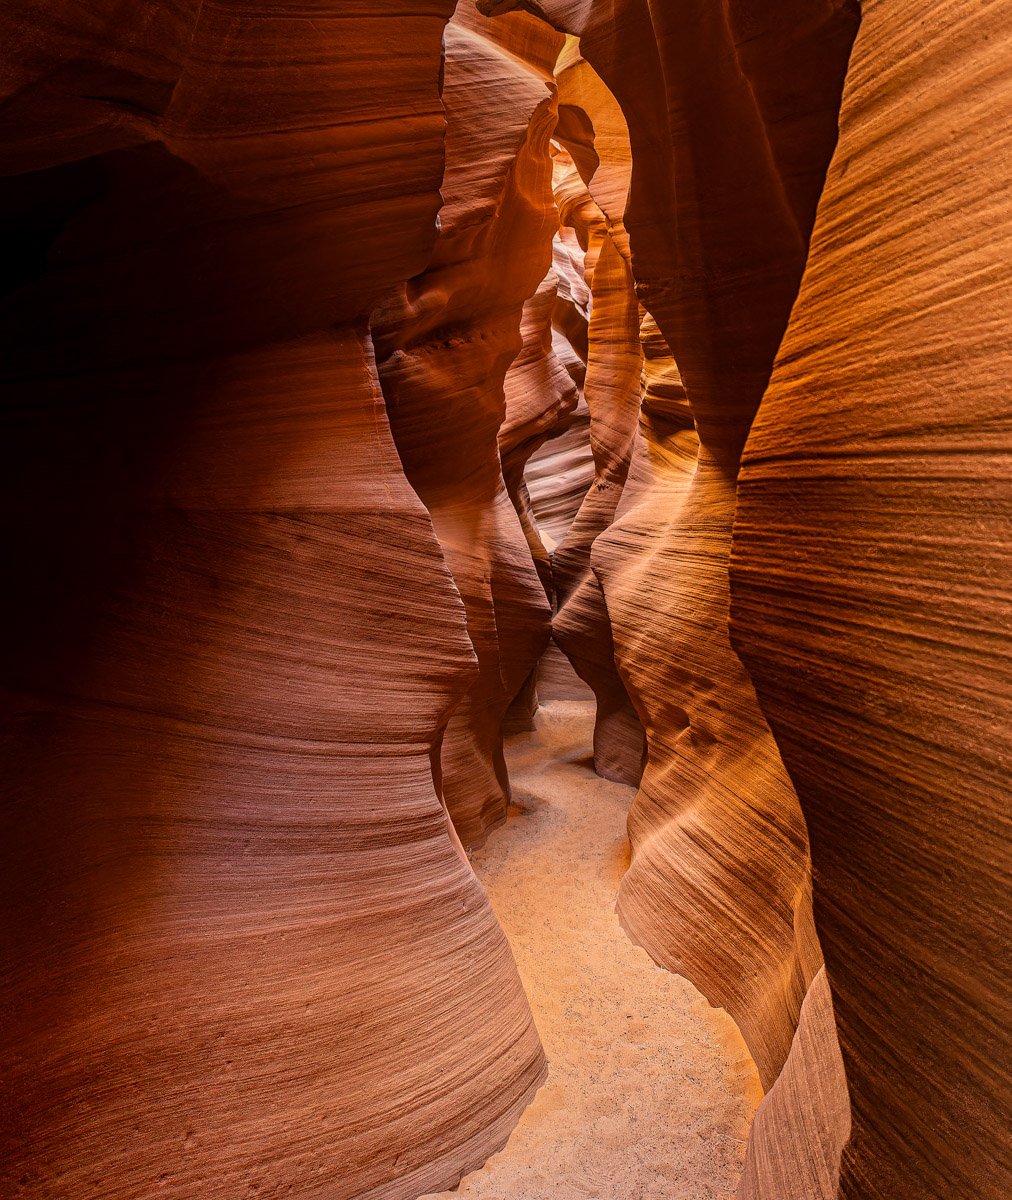
@nathannitzky enjoying slot canyon photography - crop sensor Sony camera 15mm f/3.5 1/60 sec ISO 3200
Basic Photography Settings for Slot Canyons
On a tripod -
Recommended starting settings when using a tripod. Feel free to adjust as needed. You shouldn’t need to go much above f/11 if using a wide-angle lens.
ISO: 100
Aperture: f/8 - f/11
Shutter Speed: As long as it needs to be to give a good exposure
Use your 2-second timer whenever you use longer shutter speeds on a tripod. Don’t waste time and wait for 10-second timers.
Hand Held -
Recommended starting settings when holding the camera. Feel free to adjust - you may be able to get away with lower shutter speeds and wider apertures depending on your composition and camera stabilization.
Shutter speed: at least 2x your focal length*
Aperture: f/5.6 - f/11 stay more centered in the canyon (farther from the walls)
ISO: As high as it needs to be to give a good exposure. Don’t stress about high ISO - the noise is often hidden by the texture of the sandstone and programs like Topaz and DxO make it easy to remove excess noise.
*If you have good stabilization in your camera/lens you can cheat that shutter speed rule (2x your focal length) and lower your shutter speed but I always start by following that rule and then lower the shutter speed so that if I am shooting handheld I can also lower that ISO. Whenever I cheat the shutter speed rule I shoot a short burst of photos giving me a better chance of getting one or more keepers.
The closer to the walls and the more you want in focus you will need to use a higher aperture. This is when it is better to put the camera on a tripod so you can raise the aperture and not worry about a high ISO. But, I don’t want you to feel that you need to photograph the entire canyon on a tripod. Often it is possible to shoot a wider aperture which will let you keep a reasonable shutter speed and medium-high ISOs which frees you to shoot handheld and capture a variety of compositions more quickly. Keep your head on a swivel -good compositions can be found above you, behind, and to your side.
Best Focal Lengths for Slot Canyons -
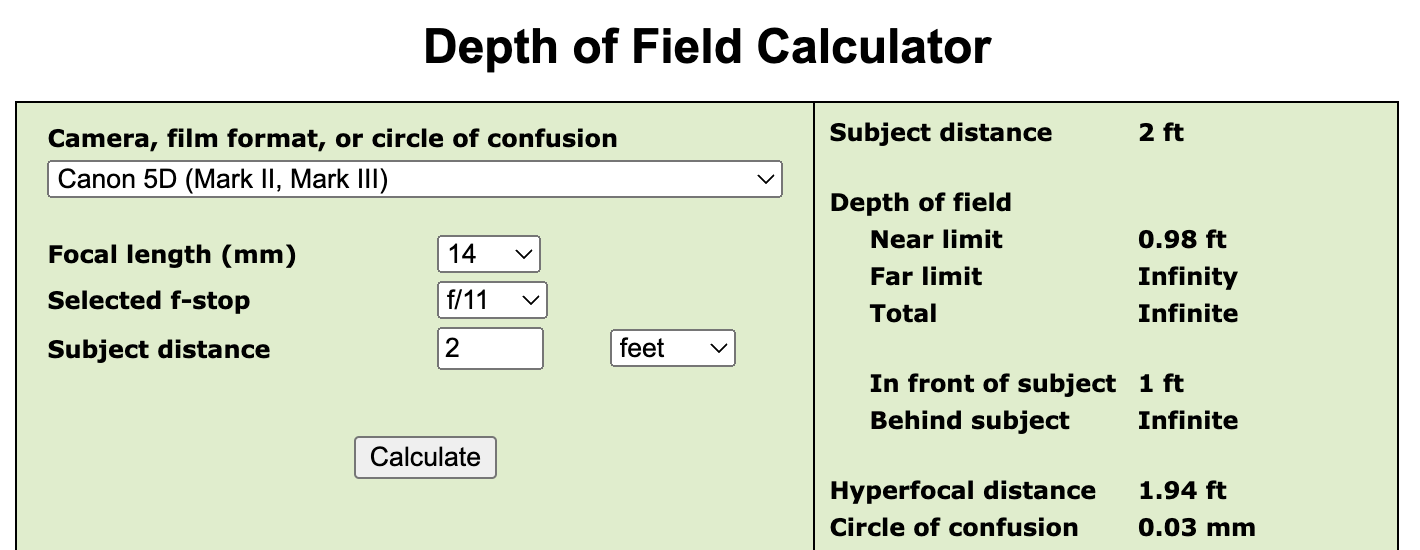
What focal length will you use in the canyon? On a full-frame camera, I like the 14mm - 24mm range and on a crop sensor the 10mm - 18mm range. If you want to get a sense of the depth of field you will see with the lens or lenses you plan to use in the Canyon - you can visit https://www.dofmaster.com/dofjs.html and plug in your info. This is in no way necessary to do these calculations to get good photos but it can help inform your choices of settings when you are in the canyon.
Note - this is an older calculator and missing many cameras - I just use Canon 5D for all full frame cameras and the Canon Rebel XT for all crop sensor cameras. The App - Photo Pills is excellent and has a more up-to-date DOF calculator. The app is not free but I highly recommend it because of all the additional tools provided.
Bracketing and HDR
There are a few compositions in the canyon, mostly looking up or near the beginning when the sky may be in the shot. These can be challenging to capture with a single exposure due to the large difference between the dark canyon and the bright sky. You can either avoid these compositions or take a series of bracketed images using your camera’s exposure bracketing options. I recommend 3-5 photos at 1 stop difference for each. We can show you how to easily combine these in Lightroom to create one HDR photo. Do not use the HDR mode on your camera as this creates a JPEG that greatly limits your post-processing abilities.
Despite my encouragement above to shoot at higher apertures sometimes you can easily get away with a much wider aperture
Captured on a crop sensor Sony camera 11mm f/1.8 ISO 800.
Would you like to join us on a future South West Photography Workshop? Signup for McKay Photography Academy Emails.


